
Table of Contents >> Show >> Hide
- Why This Balloon Experiment Works
- What You Need
- How to Blow up a Balloon With Baking Soda and Vinegar: 9 Steps
- Step 1: Pick the Right Spot
- Step 2: Stretch the Balloon First
- Step 3: Pour Vinegar Into the Bottle
- Step 4: Add Baking Soda to the Balloon
- Step 5: Attach the Balloon to the Bottle
- Step 6: Lift the Balloon and Start the Reaction
- Step 7: Watch the Balloon Inflate
- Step 8: Make Observations and Adjust if Needed
- Step 9: Clean Up and Try Variations
- What Is Happening Chemically?
- Common Problems and Easy Fixes
- How to Turn This Into a Better STEM Activity
- Safety Tips Worth Following
- Why This Experiment Still Has Staying Power
- Experiences Related to “How to Blow up a Balloon With Baking Soda and Vinegar: 9 Steps”
- Conclusion
- SEO Tags
If you have ever wanted to impress a kid, a classroom, or your own inner mad scientist without setting off the smoke alarm, this is your moment. Learning how to blow up a balloon with baking soda and vinegar is one of those classic science tricks that never really gets old. It is cheap, fast, messy in a charming way, and somehow manages to feel like kitchen wizardry even though the ingredients are probably sitting three feet from your toaster right now.
But this experiment is more than fizzy fun. It is also a simple, hands-on way to see a real chemical reaction in action. A solid and a liquid combine, bubbles form, gas is released, and suddenly a sad floppy balloon starts standing up like it has somewhere important to be. In other words, this activity is perfect for parents, teachers, homeschoolers, science fair beginners, or anyone who enjoys making everyday objects behave dramatically.
In this guide, you will learn exactly how to blow up a balloon with baking soda and vinegar in 9 easy steps, why it works, how to fix the most common mistakes, and how to stretch the activity into a richer STEM lesson. We will also end with practical, real-life experiences tied to this experiment, because nothing says “science” like discovering that your funnel is too small after the vinegar is already poured.
Why This Balloon Experiment Works
Here is the simple version: vinegar contains acetic acid, and baking soda is sodium bicarbonate. When they mix, they go through a chemical reaction that produces carbon dioxide gas, along with water and sodium acetate. That carbon dioxide gas has to go somewhere, so it travels upward and fills the balloon.
That is why this experiment feels so satisfying. You can actually see the product of the reaction doing work. The gas is not just bubbling politely in the bottle like a tiny spa treatment for condiments. It is pushing outward, stretching the balloon, and making chemistry feel wonderfully visible.
This also explains why the amount of vinegar and baking soda matters. More reactants can produce more gas, but only up to a point. Once one ingredient runs out, the reaction stops. That is why doubling the baking soda does not always give you a monster balloon. Sometimes you are just giving the bottle extra powder and false hope.
What You Need
- 1 empty plastic bottle, about 12 to 16 ounces
- 1 balloon
- Vinegar
- Baking soda
- 1 small funnel
- Measuring spoons or cups
- A small tray, towel, or sink area for easy cleanup
- Safety goggles and adult supervision for younger kids
A good starting amount is about 1/2 cup to 1 cup of vinegar and roughly 2 teaspoons to 2 tablespoons of baking soda, depending on the size of your bottle and balloon. The beauty of this experiment is that it still works across a range of measurements, which is great news for people who measure like confident pirates.
How to Blow up a Balloon With Baking Soda and Vinegar: 9 Steps
Step 1: Pick the Right Spot
Set up on a kitchen counter, a tray, a table covered with newspaper, or outside if you are working with a group. This is not the messiest experiment on earth, but vinegar has a way of finding the one surface you forgot to protect. Choose a spot with enough room to move around comfortably, especially if children are involved and excitement levels are expected to rise faster than the balloon.
Step 2: Stretch the Balloon First
Before adding anything, gently stretch the balloon with your hands or inflate it once with air and let it back down. This makes it easier for the balloon to expand when the gas is released. A brand-new balloon can be a little stubborn, and chemistry already has enough personality without rubber joining the argument.
Step 3: Pour Vinegar Into the Bottle
Measure about 1/2 cup of vinegar into your plastic bottle. If you are using a larger bottle and want a bigger reaction, you can go up to 1 cup. Try not to eyeball it too wildly unless your long-term goal is “surprise countertop aroma.” A small funnel can help here if your bottle opening is narrow.
Step 4: Add Baking Soda to the Balloon
Insert the funnel into the balloon opening and add your baking soda. For a standard setup, 2 teaspoons to 2 tablespoons works well. Keep the powder down in the main part of the balloon, not stuck in the neck. If the baking soda clings to the inside like it is emotionally attached, tap the balloon gently until it settles.
Step 5: Attach the Balloon to the Bottle
Carefully stretch the balloon opening over the mouth of the bottle without letting the baking soda fall in yet. This is the sneaky part. You want the balloon secured tightly on the bottle while the powder stays up in the balloon. Think of it as a tiny science suspense scene: everyone is in position, and the main character has not made their entrance yet.
Step 6: Lift the Balloon and Start the Reaction
Once the balloon is tightly attached, lift the top of the balloon so the baking soda drops into the vinegar. You should immediately see fizzing and bubbling. Within moments, carbon dioxide gas starts building up and moving into the balloon. This is the point where kids say, “Whoa!” and adults say, “Okay, that is still pretty cool.”
Step 7: Watch the Balloon Inflate
Hold the bottle steady and let the reaction finish. The balloon should begin to rise and expand as gas fills it. Some balloons inflate quickly, others take a few seconds longer depending on the size, the exact measurements, and how much the balloon resisted becoming part of the team. Watch the bubbles, the foam, and the shape of the balloon change. That visual drama is the whole payoff.
Step 8: Make Observations and Adjust if Needed
If the balloon barely inflates, do not panic and do not blame physics just yet. Check whether the bottle and balloon had a tight seal. Make sure the baking soda actually fell into the vinegar. You can also try a little more vinegar or baking soda in the next round, but remember that adding more of one ingredient only helps until the other ingredient becomes the limiting factor. In plain English: eventually, one side of the chemistry duo taps out.
Step 9: Clean Up and Try Variations
Once the reaction is complete, remove the balloon carefully and pour the leftover liquid down the drain with water. Then repeat the experiment with different amounts, a different bottle size, or a different balloon size. This is where a one-time activity turns into an actual mini science investigation. You can ask which setup makes the biggest balloon, which inflates fastest, or which uses the least material for the best result.
What Is Happening Chemically?
This experiment is often introduced as a simple acid-base reaction, which is true, but there is a little more going on. First, the acetic acid in vinegar reacts with sodium bicarbonate to form an unstable intermediate. That intermediate quickly breaks down into carbon dioxide and water, while sodium acetate remains dissolved in the liquid.
The important takeaway is this: the gas produced is new. It was not sitting around in the bottle waiting for a cue. The atoms in the original substances rearranged into new products, which is why this counts as a real chemical change and not just an enthusiastic stirring session.
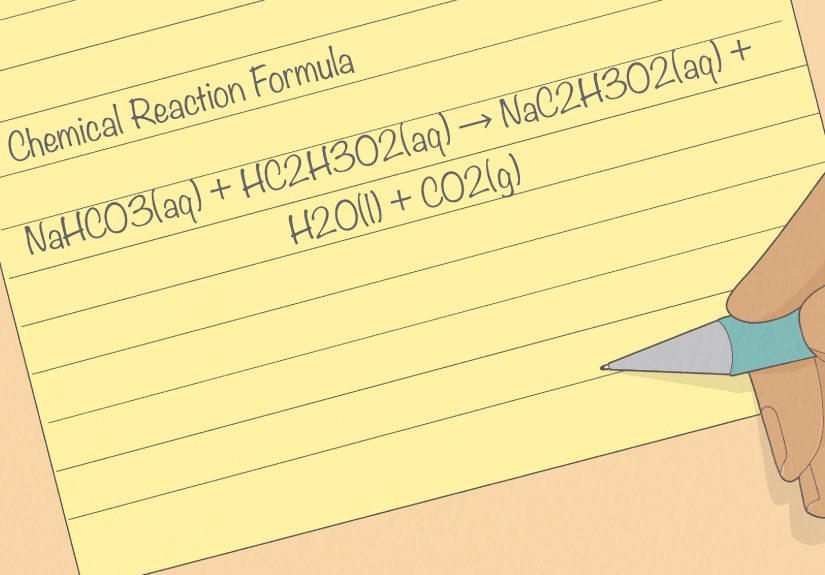
If you want the classroom-friendly version of the equation, it looks like this:
Sodium bicarbonate + acetic acid → carbon dioxide + water + sodium acetate
That little arrow is doing a lot of work. It means the original ingredients are transformed into something else. And one of those new things is a gas that pushes on the inside of the balloon until it expands.
Common Problems and Easy Fixes
The Balloon Did Not Inflate
This usually comes down to one of three issues: the balloon was not sealed tightly, the baking soda did not fully fall into the bottle, or the measurements were too small to create enough gas. Try again with a snugger fit and slightly larger amounts.
The Balloon Inflated Only a Little
That can happen if the balloon is thick, the bottle is too large for the amount of gas produced, or one reactant runs out quickly. Switching to a smaller bottle or slightly increasing the reactants can help.
The Mixture Foamed Into the Balloon Neck
That is not unusual, especially with vigorous reactions. It usually means the gas formed quickly and pushed foam upward. Use a little less material, or a slightly larger bottle, if you want a cleaner-looking result.
Everything Started Too Soon
Classic funnel trouble. If some baking soda drops into the vinegar while you are still attaching the balloon, the reaction begins early. Work slowly, keep the balloon hanging to the side, and attach it only after the powder is loaded correctly.
How to Turn This Into a Better STEM Activity
If you are doing this with students or curious kids, do not stop at “Yay, balloon.” This experiment is a great opening for deeper questions. Ask them to predict what will happen before lifting the balloon. Then ask what changed after the reaction. What evidence shows that a gas formed? What would happen if the bottle were bigger, the balloon smaller, or the ingredients doubled?
You can also turn it into a fair test. Keep the baking soda amount the same and change only the vinegar. Or keep the vinegar the same and vary the baking soda. Measure balloon circumference with string. Time how long inflation takes. Record observations. Suddenly, your kitchen has become a low-budget research lab, and honestly, that is a pretty strong use of a Tuesday.
Safety Tips Worth Following
This is a mild household experiment, but basic safety still matters. Use a plastic bottle instead of glass. Wear safety goggles, especially in a classroom or group setting. Younger children should do the activity with adult help. Avoid putting your face directly over the bottle, and wash hands afterward.
Also, do not seal the reaction in a rigid container with no escape route. The balloon is useful because it catches the gas while still expanding. That flexibility is what makes the demonstration safe, visible, and much less likely to produce the kind of “science memory” that includes apologizing to the ceiling.
Why This Experiment Still Has Staying Power
Part of the appeal is that it hits the educational sweet spot. It is simple enough for young learners, but rich enough to introduce real chemistry concepts like reactants, products, gas formation, conservation of matter, and limiting reagents. It is inexpensive, repeatable, and delightfully visual. Teachers like it because it works. Kids like it because it looks like a balloon is inflating by magic. Adults like it because, for one shining moment, the pantry becomes a science center.
And unlike some online “easy STEM activities” that quietly require twelve specialty supplies and a level of emotional stability no one in the room possesses, this one is refreshingly realistic. Baking soda. Vinegar. Bottle. Balloon. Done.
Experiences Related to “How to Blow up a Balloon With Baking Soda and Vinegar: 9 Steps”
One of the most memorable things about this experiment is how often it starts as a quick activity and turns into a whole event. Someone says, “Let’s just try it once,” and twenty minutes later the table is full of bottles, three balloons are being compared like athletes, and somebody is asking whether apple cider vinegar has better “balloon power” than white vinegar. The experiment has a way of pulling people in because the result is immediate and a little theatrical.
In family settings, this activity often becomes the gateway science experiment. It is simple enough for younger children to understand, but dramatic enough that older siblings do not immediately vanish the second they hear the word “educational.” Everyone can do something. One person measures. One holds the funnel. One attaches the balloon. One narrates like they are covering a major sporting event. That shared participation is part of why the experiment tends to stick in people’s memory.
In classrooms, the most common experience is that prediction makes the activity twice as effective. Students love guessing whether the balloon will inflate at all, how fast it will happen, and which setup will create the biggest result. Once the reaction starts, the room usually shifts from casual attention to full focus. That moment matters. It turns abstract science vocabulary into something concrete. “Gas formation” stops being a phrase in a textbook and becomes a balloon rising right in front of them.
There is also the very human experience of trial and error. Sometimes the balloon slips off. Sometimes the baking soda clogs the funnel like a tiny, powdery traffic jam. Sometimes the reaction starts before everything is attached, and everyone learns a valuable lesson about preparation. Strangely, those imperfect attempts are often the most useful. They lead to questions, comparisons, and better second tries. Science becomes less about getting a perfect result and more about figuring out why the first result was not perfect.
Another common experience is realizing how much setup affects success. A stiff balloon may barely expand at first, then work beautifully once it has been stretched. A loose seal can ruin an otherwise solid reaction. A larger bottle can make the experiment look underwhelming, while a smaller one gives the gas a more obvious path into the balloon. People often come away realizing that tiny details matter, which is one of the best lessons science can offer in everyday life.
And then there is the joy factor. This experiment is just fun. It gives a quick win, it invites curiosity, and it makes ordinary household materials feel unexpectedly powerful. Whether it happens at a kitchen table, during a school lab, or at a rainy-day activity session, the experience usually lands the same way: with laughter, surprise, a few follow-up questions, and the strong possibility that someone immediately asks to do it again with “just a little more baking soda this time.”
Conclusion
If you want a science activity that is affordable, educational, and genuinely entertaining, learning how to blow up a balloon with baking soda and vinegar is an easy winner. It teaches real chemistry, invites experimentation, and creates a clear visual payoff in minutes. Better yet, it turns common household ingredients into a hands-on lesson about how reactions work, why gases expand, and how small changes can affect results.
So yes, it is a classic. But it is a classic for a reason. It works, it teaches, and it gives a balloon its big moment without anyone needing to pass out from blowing into it first.
SEO Tags
Note: This article is intended for educational use. For the smoothest, safest experience, use a plastic bottle, wear goggles, and supervise young children.


