


Home blood glucose testing can feel like a tiny kitchen science projectpoke, beep, numberbut it’s one of...
Want to keep an Aquarius man interested without chasing, guessing, or turning your love life into a...
Specific heat explains why water warms slowly, metal heats quickly, and your soup can stay hot long...
Busy primary care physicians manage complex diabetes care in limited visit time. Diabetes education programs offer a...

Want to replay original Xbox classics on your Xbox 360 without turning the setup process into a...

Want to stop paying for Discord Nitro without getting lost in billing menus? This complete guide explains...

The 2026 Flower and Plant of the Year bring together two powerful symbols: delphinium for joy, hope,...
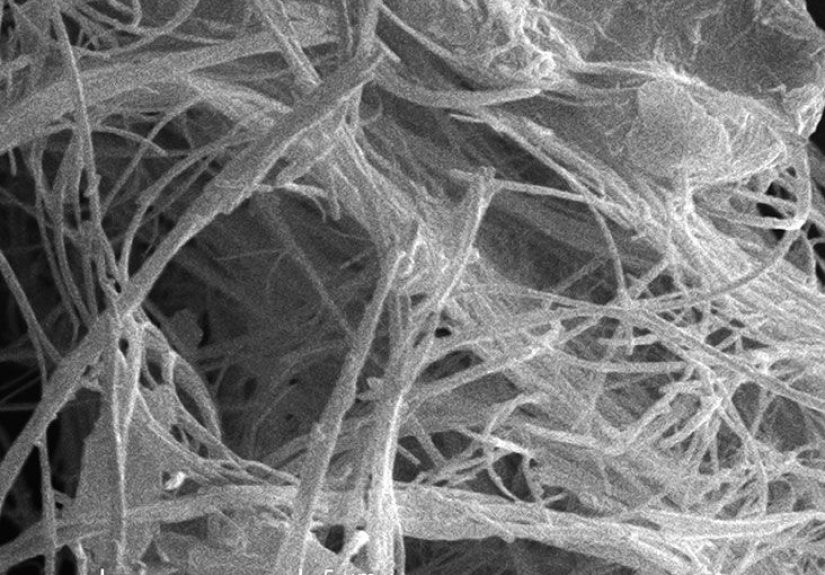
Asbestosis is a serious lung disease caused by breathing in asbestos fibers, often many years before symptoms...

A Basic Starter Set of Blocks may look simple, but it can open the door to creativity,...